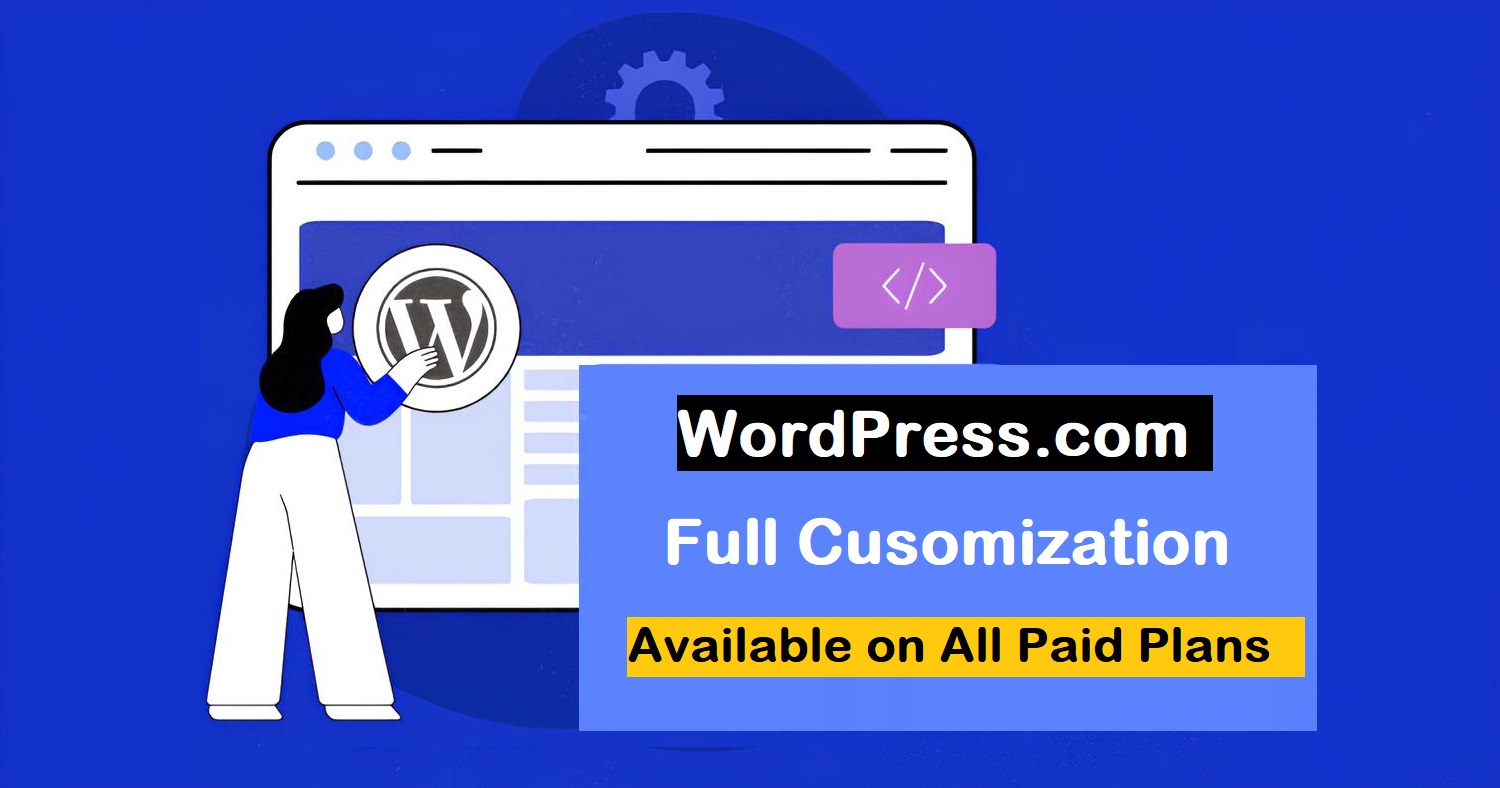
WordPress.com Full Customization: What’s New in 2026
For the first time, you’re not stuck with ‘good enough.’ You can truly design your site your way. Isn’t that cool?
What This Means for You
WordPress.com full customization just became accessible to everyone on paid plans. You now have professional-grade design control without touching a single line of code (unless you want to).
Here’s what you can do:
- Control site-wide design with Global Styles (fonts, colors, spacing across every page at once)
- Upload custom fonts, including Google Fonts and premium typefaces
- Write custom CSS to fine-tune anything the visual editor doesn’t cover
- Edit headers, footers, and templates using the Site Editor
- Create consistent designs with block patterns and style variations
This works on Personal, Premium, Business, and Commerce plans. If you’re already on a paid plan, these features are live right now.
The days of settling for “close enough” are over. Let me show you what’s actually possible.
How I Stopped Compromising on Design
Recently, I was redesigning my friend’s pottery site on WordPress.com. She’d been on the Premium plan but felt stuck with her theme’s default look.
“I love the layout,” she said, “but I hate the font. And these colors don’t match my brand at all.”
Before this update, I would’ve told her she had three options: live with it, switch themes, or upgrade to a higher plan for more advanced customization.
None of those were good answers.
But I’d been following these recent updates. So instead, I said: “Actually, let’s fix this right now.”
We opened the Site Editor. Clicked on Global Styles. Changed her heading font to the custom typeface she uses for her branding. Adjusted her color palette to match her studio’s warm, earthy vibe. Tweaked the spacing so everything felt more breathable.
Twenty minutes later, her site looked like a professional designer had built it from scratch. No theme switching. No code. No upgrade.
She was happy and satisfied. “This is what I’ve been trying to do.”
That’s the power of WordPress.com full customization. It removes the barriers between what you envision and what you can actually build.
Unlock full customization on WordPress.com — now on every paid plan →
What WordPress.com Full Customization Includes
Let’s break down what you can actually do with these new tools. Because “full customization” sounds great, but what does it mean in practice?
Global Styles: Your Site-Wide Design Control Center
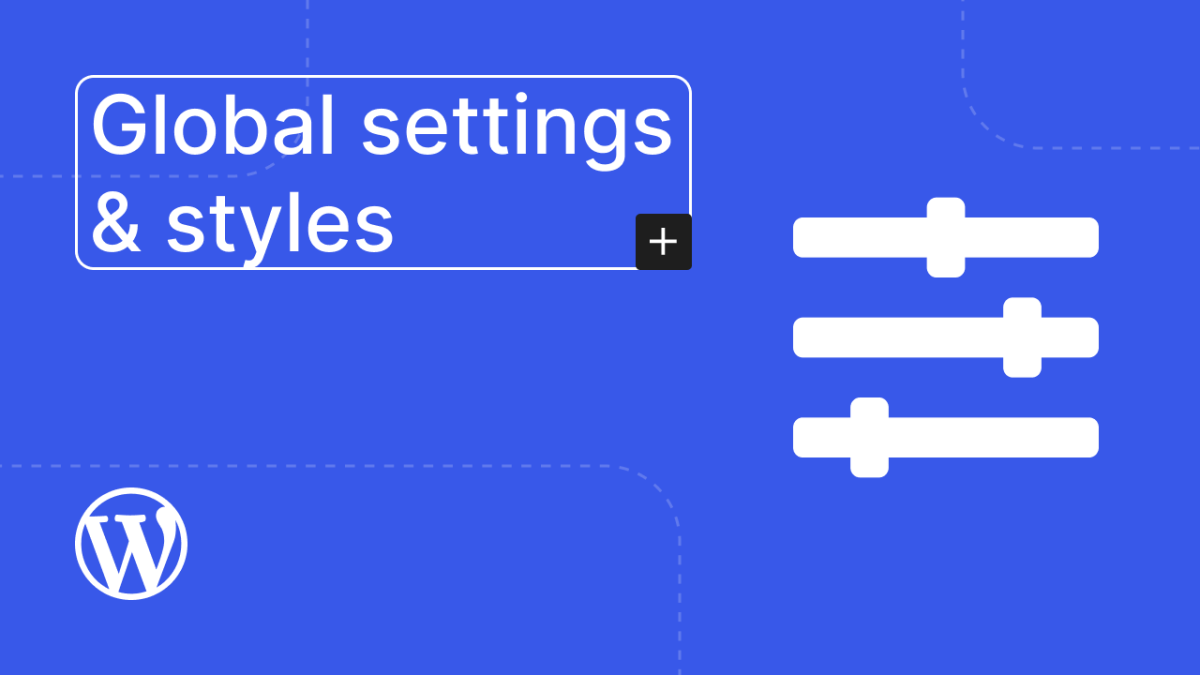
Global Styles is the game-changer. Instead of editing individual pages or posts, you set design rules once, and they apply everywhere.
Typography Control
- Choose fonts for headings, body text, and links
- Upload custom fonts (Google Fonts, Adobe Fonts, any .woff or .ttf file)
- Adjust font sizes globally or per block
- Control line height, letter spacing, and text appearance (bold, italic)
Color Management
- Create custom color palettes for your brand
- Set text colors, background colors, and accent colors
- Apply duotone effects to images
- Define gradient backgrounds
Layout and Spacing
- Control padding and margins site-wide
- Set content width defaults
- Adjust block spacing
- Define page layouts
Per-Block Customization You can also set default styles for specific blocks. Want all your buttons to use your brand colors? Set it once in Global Styles, and every button you add inherits those settings.
Custom Font Uploads
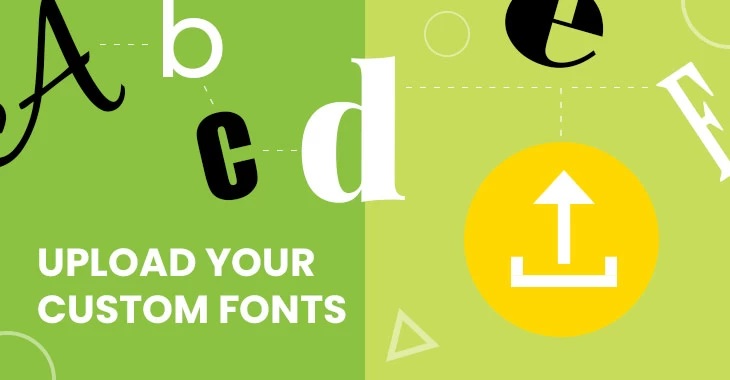
This feature alone is worth the price of a paid plan if you’re serious about branding.
What You Can Upload:
- Google Fonts (free, huge selection)
- Adobe Fonts (if you have a subscription)
- Premium fonts from services like MyFonts or Creative Market
- Custom typefaces designed specifically for your brand
Supported Formats:
- .woff and .woff2 (recommended for web performance)
- .ttf (TrueType fonts)
- .otf (OpenType fonts)
Upload once, use everywhere. Your custom fonts become available in all typography settings across your entire site.
Custom CSS Access
For those who want pixel-perfect control, WordPress.com full customization now includes CSS editing on all paid plans.
What Custom CSS Lets You Do:
- Override theme styles for specific elements
- Create custom hover effects
- Adjust spacing with precision
- Style elements that don’t have visual controls
- Fix responsive design edge cases
- Add animations and transitions
You don’t need to be a CSS expert to use this. Simple tweaks like changing button border radius or adjusting header spacing require just a few lines of code, which you can find with a quick search.
Site Editor: Visual Template Control
The Site Editor gives you block-based control over your entire site structure.
What You Can Edit:
- Headers: Logo placement, navigation menus, search bars
- Footers: Contact info, social links, copyright text, multiple columns
- Templates: Page layouts, post layouts, archive pages, 404 pages
- Template Parts: Reusable sections you can drop into multiple templates
Everything is visual. You place blocks, arrange them, style them, and see results instantly.
Build your site exactly how you want with WordPress.com full customization →
How to Access WordPress.com Full Customization Features
Let me walk you through actually using these tools. This isn’t theoretical; this is the exact workflow I use when building sites.
Accessing Global Styles
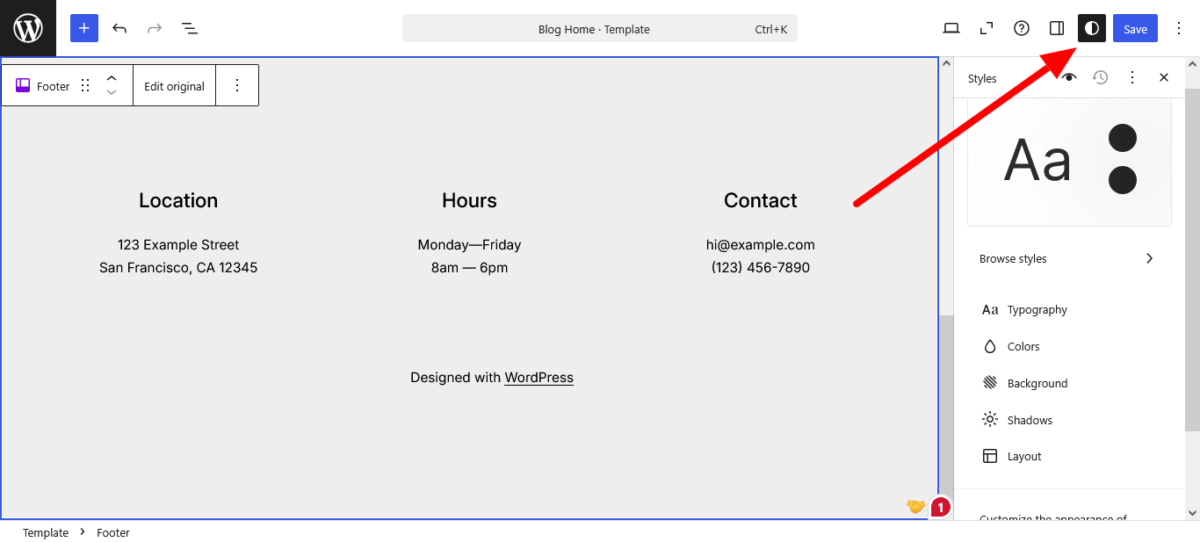
Method 1: Through the Site Editor

- Go to Appearance → Editor in your WordPress.com dashboard
- Click the Styles icon in the top-right (looks like two circles, one black and one white)
- You’ll see options for Typography, Colors, Layout, and Blocks
Method 2: While Editing a Page
- Open any page in the editor
- Click the Global Styles icon in the top toolbar (Aa icon)
- Same options appear, make changes that apply site-wide
Changing Site-Wide Typography
- Open Global Styles
- Click Typography
- Select Text to change body font, or Headings for heading fonts
- Click the dropdown under Font to see available fonts
- Choose a font and watch your preview update in real-time
Adjusting Font Settings:
- Size: Makes text larger or smaller
- Appearance: Bold, italic, or both
- Line height: Space between lines of text
- Letter spacing: Space between individual letters
- Letter case: Uppercase, lowercase, or capitalize
Every change applies across your entire site immediately.
Uploading Custom Fonts
- Go to Appearance → Editor → Styles
- Click Typography
- Click Manage fonts or Upload fonts (wording varies by interface)
- Select your font files from your computer
- Upload, and they appear in your font dropdown menus
Pro tip: Upload both regular and bold weights of your custom font so headings and body text have proper hierarchy.
Customizing Colors
- Open Global Styles → Colors
- Click Palette to see your theme’s color scheme
- Click the three dots next to any color group (Theme, Default, Custom)
- Click a color to edit it
Ways to Define Colors:
- Use the color slider for visual selection
- Enter HEX codes (#FF6B6B)
- Enter RGB values (rgb(255, 107, 107))
- Enter HSL values (hsl(0, 100%, 71%))
Create a custom palette that matches your brand guidelines exactly.
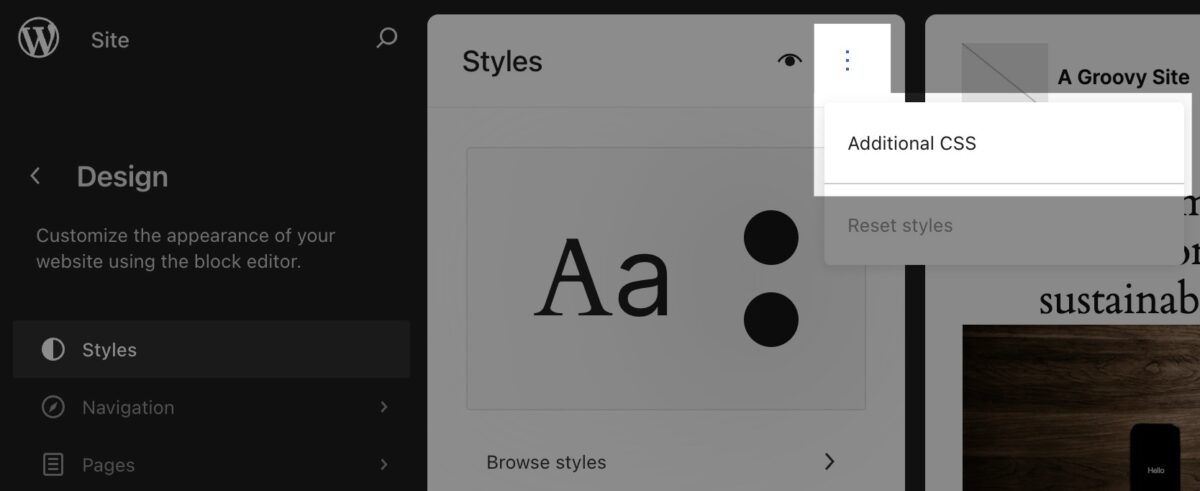
Adding Custom CSS
- Go to Appearance → Customize (for older interface) or Appearance → Editor → Styles → Additional CSS (newer interface)
- Click Additional CSS
- Write or paste your CSS code
- See changes live in the preview
- Click Publish to make them permanent
Example CSS snippets:
/* Round all button corners */
.wp-block-button__link {
  border-radius: 25px;
}

/* Add space above headings */
h2, h3 {
  margin-top: 2em;
}

/* Style links with your brand color */
a {
  color: #6B4CE6;
  text-decoration: none;
}

/* Create a hover effect for links */
a:hover {
  text-decoration: underline;
  color: #5A3FCC;
}
Editing Headers and Footers
- Go to Appearance → Editor
- Click Templates in the left sidebar
- Select Header or Footer from the list
- Edit using blocks just like you’d edit a page
- Save your changes
Any edits you make apply to every page using that template. Change your header once, update your entire site.
Your site, your rules — full customization is now on every plan →
Use Cases for WordPress.com Full Customization

Let me show you what people are honestly building with these tools.
Case Study 1: Rebranding Without Starting Over
The Situation:
Terence runs a consulting business on WordPress.com Premium. He rebranded his company, new logo, new colors, new typography. Her site still used the old branding.
The Old Way:
Switch themes completely (losing all her custom layouts), hire a designer ($2,000+), or manually update every page (20+ hours of work).
The New Way:
He used WordPress.com full customization to:
- Upload her new custom fonts (took 2 minutes)
- Create a new color palette matching her rebrand (5 minutes)
- Update her header with the new logo using the Site Editor (10 minutes)
- Adjust spacing and typography globally (15 minutes)
Total time: 32 minutes. Total cost: $0. Her entire site now reflects her new brand.
Case Study 2: Building a Portfolio That Stands Out
The Situation:
Arthur is a photographer who needed his WordPress.com site to showcase his work without looking like every other photography site.
What He Did:
- Uploaded a premium serif font for elegant typography
- Created a minimal color palette (black, white, one accent color)
- Used Global Styles to set generous whitespace around images
- Customized the header to be ultra-minimal (just logo, no menu)
- Added custom CSS for unique hover effects on thumbnails
His portfolio now looks like a $5,000 custom build. He spent $4/month on the Personal plan.
Case Study 3: Nonprofit Site on a Budget
The Situation:
A small nonprofit needed a professional site but had zero budget for design work.
What They Built:
Using WordPress.com full customization on the Personal plan:
- Custom color palette matching their brand guidelines
- Uploaded their branded fonts
- Created consistent headers and footers with their logo and social links
- Set up templates for different page types (programs, events, donations)
- Used block patterns for consistent content layouts
Professional result. $48/year budget.
Stop working around limits — customize your WordPress.com site your way →
Advanced Techniques for Power Users
If you want to go deeper with WordPress.com full customization, here’s what’s possible.
Creating Style Variations
Many modern WordPress themes include style variations, complete design presets you can switch between.
How to Use Style Variations:
- Go to Appearance → Editor → Styles
- Click Browse styles if available
- Preview different variations
- Click one to apply it instantly
Think of variations like interior design templates. Each one has pre-configured colors, fonts, and spacing that work together.
Building Block Patterns
Block patterns are reusable content layouts you can save and reuse.
Creating a Pattern:
- Build a section you like (e.g., a call-to-action box, testimonial layout, pricing table)
- Select all the blocks in that section
- Click the three dots → Create pattern
- Name it and save
Now you can insert that exact layout on any page with one click.
Template Customization for Different Page Types
WordPress uses different templates for different content:
- Single posts
- Pages
- Archives (blog, categories)
- Search results
- 404 pages
Customizing Templates:
- Go to Appearance → Editor → Templates
- Select the template you want to edit
- Modify it using blocks
- Save changes
For example, you might want blog posts to show author bios at the bottom, but static pages shouldn’t. Edit the Single Post template to include an author block. Done.
Responsive Design Considerations
WordPress.com full customization handles most responsive design automatically, but you can fine-tune it.
Testing Responsiveness:
- While editing, click the device preview icons (desktop, tablet, mobile)
- See how your changes look on different screen sizes
- Adjust spacing or font sizes for specific devices using custom CSS
Mobile-Specific CSS:
/* Only applies on screens smaller than 768px */
@media (max-width: 768px) {
  h1 {
    font-size: 1.8rem;
  }

  .wp-block-button {
    width: 100%;
  }
}
Performance Optimization with Custom Fonts
Custom fonts are powerful, but too many can slow down your site.
Best Practices:
- Upload only the font weights you actually use (regular and bold, not all 9 weights)
- Use modern formats (.woff2 is fastest)
- Limit yourself to 2-3 font families maximum
- Test your site speed after uploading fonts
From fonts to layout, customize it all on WordPress.com →
Common Mistakes to Avoid

I’ve seen these mistakes kill otherwise beautiful WordPress.com full customization projects.
Mistake 1: Using Too Many Fonts
The Problem:
Installing 5-6 different font families because you can’t decide which one you like.
The Result:
Slow load times, inconsistent branding, amateurish appearance.
The Fix:
Choose one font family for headings, one for body text. Stick with them. Use font weights (bold, regular, light) for variety within those families.
Mistake 2: Ignoring Contrast Ratios
The Problem:
Light gray text on white backgrounds looks modern and minimal and is completely unreadable for anyone over 40 or with any vision impairment.
The Result:
Inaccessible site, frustrated visitors, lost conversions.
The Fix:
Use contrast checking tools (WebAIM Contrast Checker) to ensure text is readable. Minimum ratio: 4.5:1 for body text, 3:1 for large text.
Mistake 3: Overusing Custom CSS
The Problem:
Adding hundreds of lines of custom CSS instead of using Global Styles or theme features.
The Result:
Harder to maintain, updates might break styling, and changes take longer.
The Fix:
Use Global Styles and the Site Editor for 95% of design changes. Reserve custom CSS for edge cases that truly need it.
Mistake 4: Not Testing on Mobile
The Problem:
Designing everything on a desktop and never checking the mobile appearance.
The Result:
Site looks great on desktop, terrible on phones (where 60%+ of your traffic comes from).
The Fix:
Use the device preview in the editor. Better yet, check your actual site on your phone periodically.
Mistake 5: Breaking Visual Hierarchy
The Problem:
Making body text and headings the same size, or using 10 different heading sizes.
The Result:
Confusing layouts, no clear content structure, and readers can’t scan effectively.
The Fix:
Establish clear hierarchy: H1 (largest), H2, H3, H4, body text (smallest). Stick to it consistently.
Create a site that actually looks like you — with WordPress.com customization →
Specific Customization Scenarios
Let me show you how to handle common design challenges using WordPress.com’s full customization.
Matching Brand Guidelines Exactly
Your Challenge:
Your company has specific brand colors (HEX codes), fonts, and spacing requirements.
The Solution:
- Upload your brand fonts to WordPress.com
- Create a custom color palette with your exact HEX codes
- Set Global Styles typography to use your brand fonts
- Use custom CSS for specific spacing if Global Styles doesn’t offer enough control
Example:
/* Match specific brand spacing */
.wp-block-group {
  padding: 3rem 1.5rem; /* Exact spacing from brand guidelines */
}

/* Use exact brand colors */
.has-primary-color {
  color: #1A1A2E; /* Exact brand HEX */
}
Creating a Unique Header Layout
Your Challenge:
You want your logo centered with navigation split on both sides, not the standard left-logo, right-menu layout.
The Solution:
- Go to Appearance → Editor → Templates → Header
- Delete the default header blocks
- Add a Group block set to full width
- Inside it, add a Row block
- Add three Column blocks (left nav, center logo, right nav)
- Place your Site Logo block in the center column
- Add Navigation blocks to the left and right columns
- Adjust spacing and alignment
No code required. Completely custom header layout.
Building Consistent Content Sections
Your Challenge:
You want all your service pages to have the same layout structure: hero image, description, features list, call-to-action.
The Solution:
- Build the layout once using blocks
- Select all the blocks in that section
- Click the three dots → Create pattern
- Save it as “Service Page Layout.”
- Use that pattern as the starting point for every service page
Consistency across all pages, built once and reused.
Styling for Accessibility
Your Challenge:
Making your site beautiful while ensuring it’s accessible to users with disabilities.
The Solution:
- Use high contrast color combinations (test with contrast checkers)
- Set readable font sizes (minimum 16px for body text)
- Use proper heading hierarchy (H1 → H2 → H3, never skip levels)
- Add descriptive alt text to all images
- Ensure interactive elements (buttons, links) have clear visual states
WordPress.com full customization makes this easier because Global Styles lets you set accessible defaults once, site-wide.
Design your site your way with WordPress.com — now fully unlocked →
The Workflow That Works
Here’s the process I use when customizing a WordPress.com site from scratch.
Phase 1: Planning (Before You Touch WordPress)
Define Your Design System:
- Choose 2 fonts maximum (heading and body)
- Pick 3-5 colors (primary, secondary, accent, neutral, dark)
- Decide on spacing scale (tight, normal, or generous)
- Gather inspiration (screenshots of sites you like)
Phase 2: Foundation (Global Settings)
Set Up Global Styles:
- Upload your custom fonts
- Create your color palette
- Set typography defaults
- Configure spacing and layout
This takes 20-30 minutes and affects every page on your site.
Phase 3: Structure (Templates and Patterns)
Build Your Template System:
- Customize header
- Customize footer
- Create page templates for different content types
- Build reusable block patterns for common sections
This takes 1-2 hours but saves countless hours later.
Phase 4: Content (Pages and Posts)
Build Your Actual Pages:
- Use your templates and patterns
- Add content
- Customize specific pages as needed
- Test on different devices
Phase 5: Polish (Custom CSS and Refinement)
Fine-Tune the Details:
- Add custom CSS for edge cases
- Test user flows
- Optimize for performance
- Get feedback and iterate
Build your site exactly how you want with WordPress.com full customization →
Your Next Steps
You have access to professional-grade design tools right now. Here’s how to start using them.
If you’re starting a new site:
- Pick a modern block theme (Twenty Twenty-Five is excellent)
- Set up Global Styles with your brand colors and fonts
- Customize your header and footer
- Build one complete page as your template
- Expand from there
If you have an existing site:
- Review your current design and identify what you’d change
- Open Global Styles and experiment with fonts and colors
- Make small changes first (typography, color palette)
- Test thoroughly before making dramatic changes
- Use the site preview to see changes before publishing
If you’re not sure where to begin:
- Browse the WordPress.com theme directory for design inspiration
- Screenshot sites you like and identify common elements
- Focus on one element at a time (start with typography)
- Don’t try to redesign everything at once
WordPress.com full customization gives you the tools. What you build with them is up to you.
FAQs
Do I need coding knowledge to use WordPress.com’s full customization?
No.
Global Styles, the Site Editor, and font uploads are all visual tools requiring zero coding knowledge. Custom CSS is optional for advanced users who want pixel-perfect control.
Which WordPress.com plans include full customization features?
Personal, Premium, Business, and Commerce plans all include Global Styles, custom fonts, CSS, and the Site Editor. The free plan doesn’t include these features.
Can I upload any font to WordPress.com?
You can upload fonts in .woff, .woff2, .ttf, and .otf formats. This includes Google Fonts, Adobe Fonts (if you have a subscription), and premium fonts from services like MyFonts.
Make sure you have proper licensing for any commercial fonts you upload.
Will customization changes affect my site speed?
Global Styles and Site Editor changes don’t significantly impact performance. Custom fonts can affect load times if you upload too many or use inefficient formats. Stick to .woff2 format and limit yourself to 2-3 font families.
Can I undo changes if I don’t like them?
Yes.
WordPress.com includes a revisions system for Global Styles. Click the three dots in the Styles panel → Revisions to restore previous versions.
You can also reset to the theme defaults at any time.
What’s the difference between Global Styles and the Customizer?
Global Styles is the modern approach for block themes, providing site-wide design control through the Site Editor. The Customizer is the older interface for classic themes. Block themes (which support full customization) don’t use the Customizer.
Can I customize mobile and desktop designs separately?
WordPress.com handles responsive design automatically, but you can add custom CSS with media queries to fine-tune mobile vs. desktop appearance if needed.
Do my customizations stay if I switch themes?
Some customizations (like uploaded fonts) stay in your media library, but Global Styles settings are theme-specific. Switching themes means reconfiguring Global Styles for the new theme.
Can I export my design customizations?
Currently, there isn’t a built-in way to export Global Styles as a package. Your customizations are stored in your WordPress.com database but aren’t easily portable to other sites.
How do I know if my theme supports full customization features?
Look for themes labeled as “block themes” or “FSE” (Full Site Editing). In your dashboard, check if you see Appearance → Editor instead of Appearance → Customize. If you see Editor, you have full customization.
Can I use WordPress.com full customization with WooCommerce?
Yes.
All customization features work with WooCommerce on Commerce plans. You can style your store’s appearance using Global Styles and the Site Editor.
What if I need help with customizations?
WordPress.com includes support on all paid plans. Personal and Premium plans get email support, Business and Commerce plans get priority 24/7 support. The WordPress.com forums are also helpful for design questions.
Quick heads up: some links here are affiliate links to WordPress.com. If you sign up through them, we may earn a small commission at no extra cost to you. It basically funds our coffee and our obsession with over-customizing things that were already fine ☕